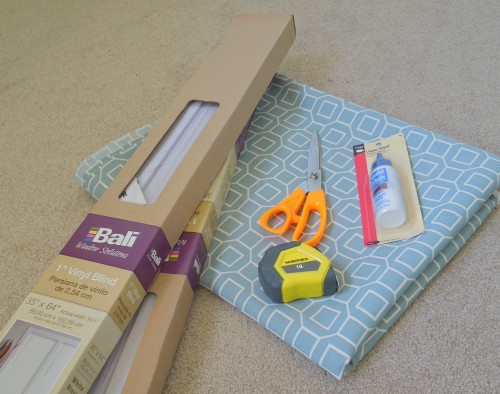
First things first, here is what you’ll need:
- Your fabric. I got mine from Tonic Living called “Outdoor – Soho, Robin”. It is outdoor fabric but it ended up being really easy to work with plus I figured it will hold up better in the sun.
- Tape Measurer
- Fabric scissors
- Fabric glue
- Blinds that fit your window. (I got these from Target for $3.99 a pop)
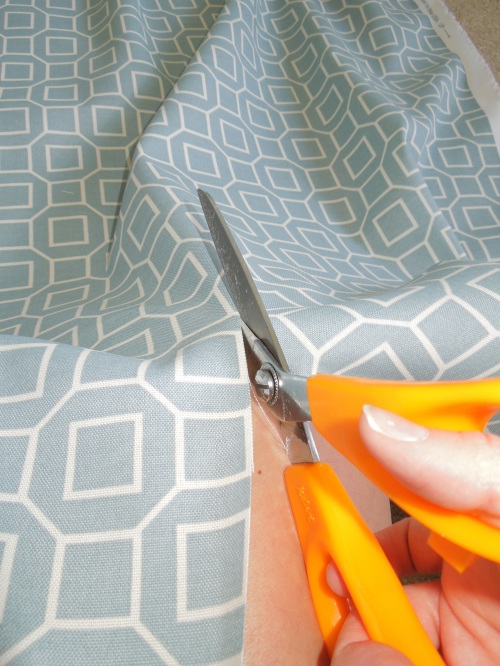
So the first thing I did was get my fabric ready to go. I cut out 2 1/2 inches more than my window which is 35 X 60 inches. So my fabric dimension to start was 37 1/2 X 62 1/2 inches.
Then I ironed over about an inch of my fabric to create the hem. Be careful to make sure your fabric will be wide enough to cover the blinds but narrow enough that it won’t bunch inside the window sill (if you are doing an inside mount).
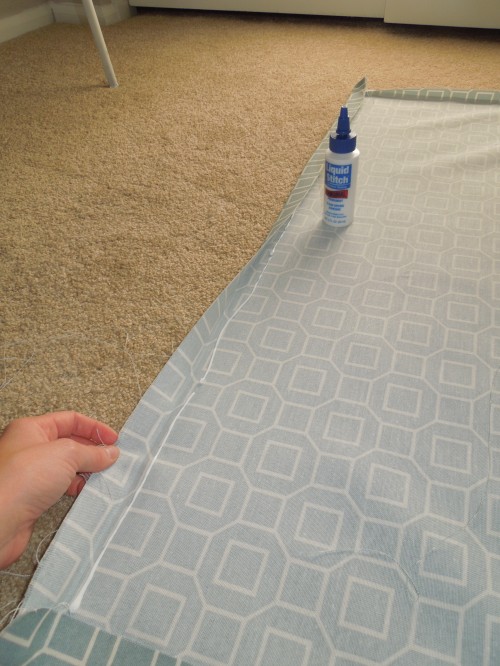
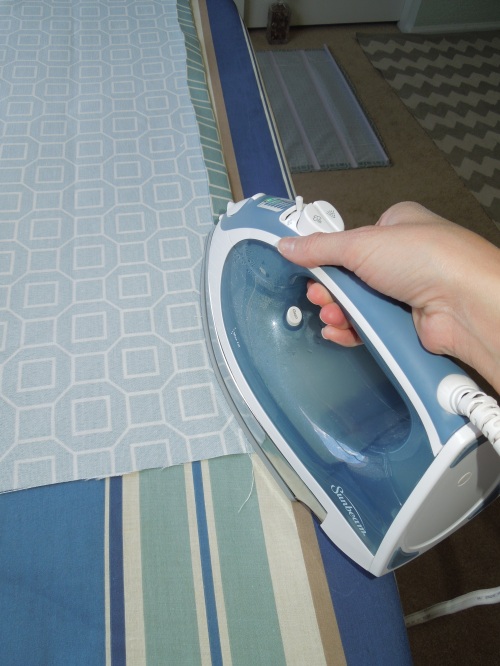 Go ahead and glue the seams together after you have ironed all four edges.
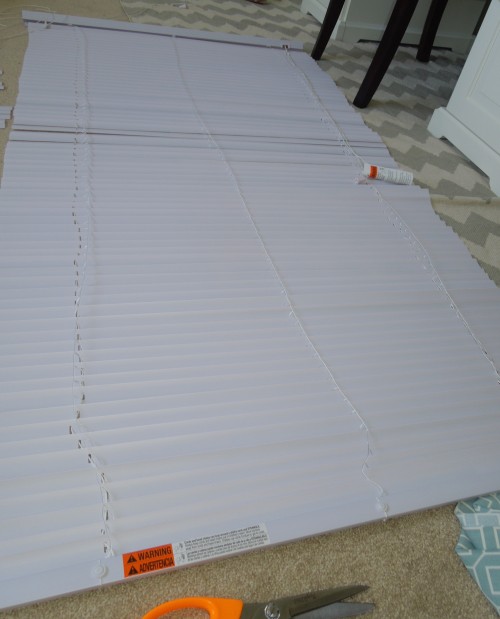
Alright now that your fabric is ready to go, it’s time to whip out your blinds. First I took them out of the box and undid them so they looked like this.
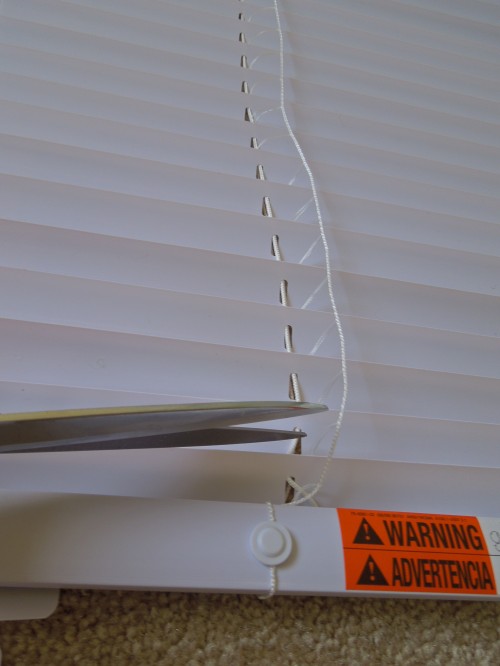
Next cut the ladder cord from the blind. DO NOT CUT POOL CORD.
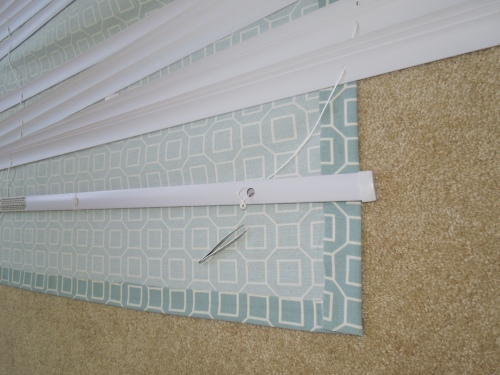
And then pop off those little caps at the bottom (set aside you will put them back on later) and untie the knot.
Then take all the slots off leaving how many you’ll need to make the folds in the roman shade. I kept 4 slots (plus the top and bottom bars) calculating that it will be a little more than 10 inches between each slot for my 60 inch blinds. Confused yet? It is recommended that you leave 7-9 inches between each slot, I left a little more because my window was so long. Oh in in the pic below it looks like I kept 5 slots but the one on the top is just connected to the top bar and sort of just hangs there so I left it alone.
Now it’s time to reconnect that bottom bar! Basically you have to measure each string so they are even to each other (so when you pull blinds up and down they aren’t lopsided) and equal to the length of the blinds. Then you tie a knot at the end, push it in the hole (that’s what she said) and reattach the plug at the bottom.
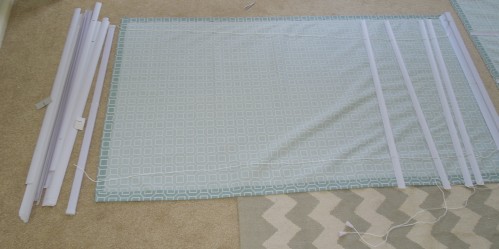
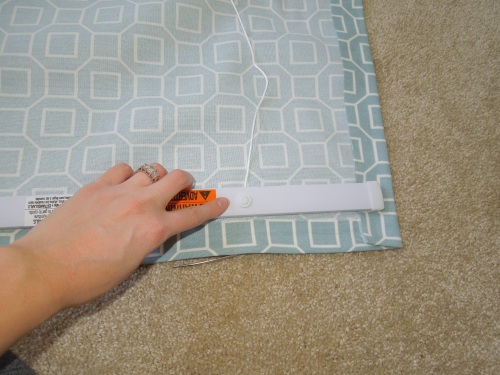
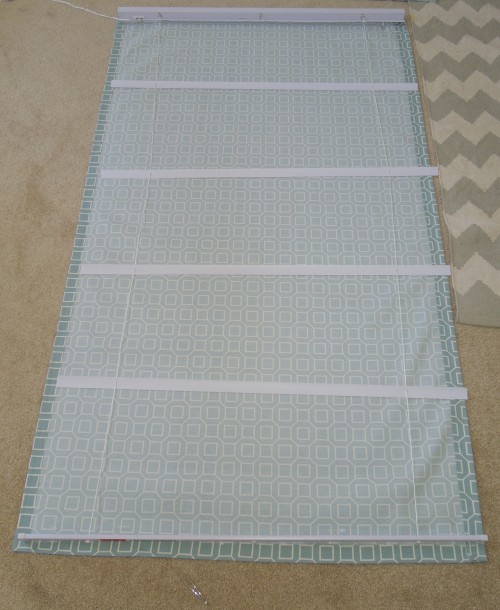
Time to attach your blinds to the fabric. First I evenly spread out the slots with my tape measurer… although looking at this pic, nothing is really level. Oops! I was more careful when I glued.
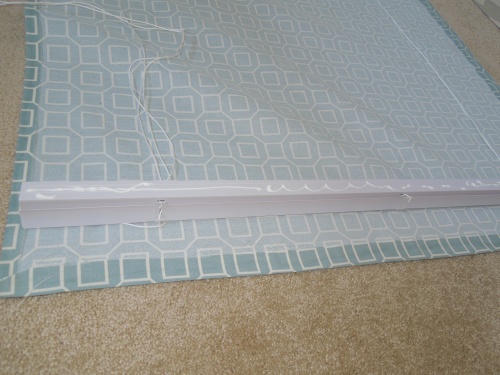
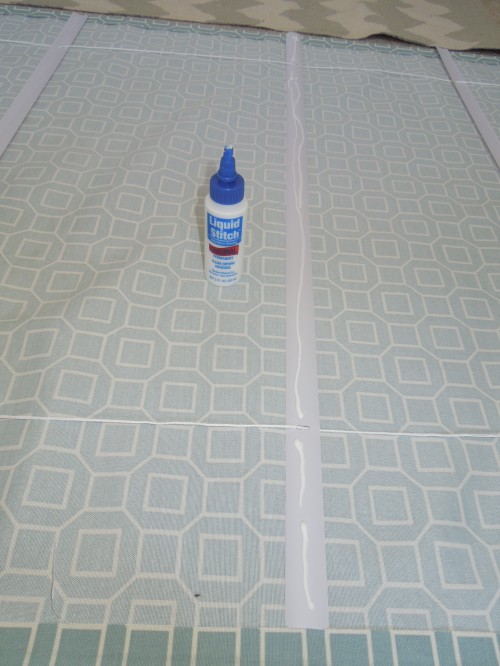
Grab your fabric glue and glue each piece to your blinds. I started with the top and bottom bars, let them dry for a bit then went back to glue the slots. Oh and be sure NOT to get any glue on the pull cord, this would ruin everything.
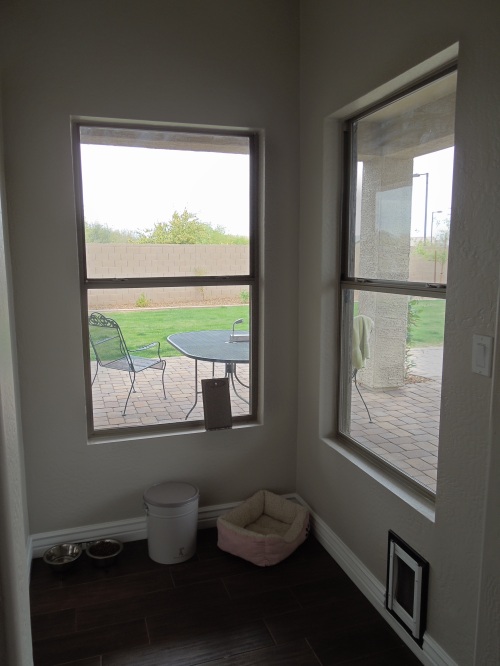
Let it dry and hang em up! Here it was the space looked like before:
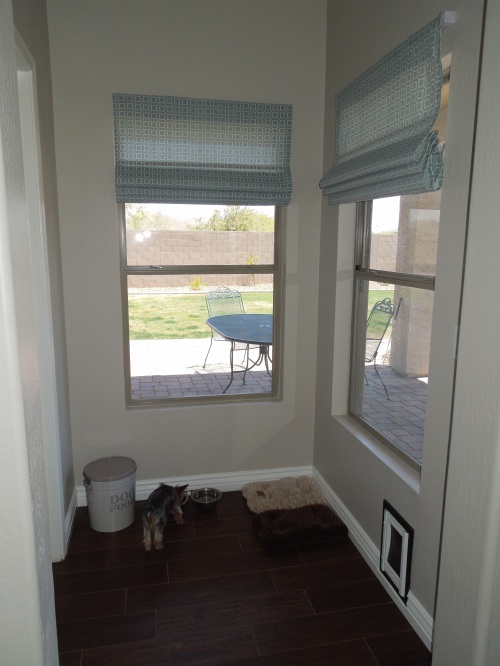
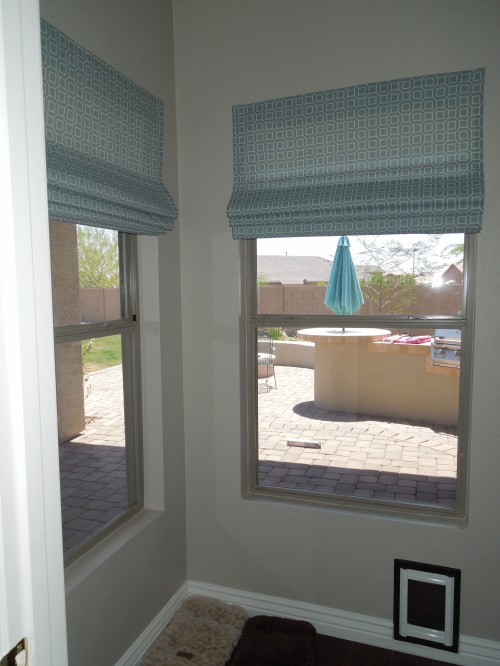
And here is the after:
Here is the view walking out of my master bedroom!
There you have it. How to make inexpensive NO-SEW roman shades.



I love these shades! Is there any way you could line the back of them? Thx!
Yes, I would eventually like to do this because they aren’t that great looking from the outside. I would think you could just cut and hem the liner fabric and glue it to the other side of the slots (again making sure not to get any glue on the pull cord). I will try to post a tutorial if I ever get around to doing it myself! haha
How many yards did you need to purchase to make these?
I bought 4 yards to be on the safe side.
They look great. In your finished product I do not see the pull cord. Where is it? Did you just hide it for the picture?
Yep the pull cords are tucked away in the folds. 😉
So perfect! I want to do this. Also, you are hilarious, “thats what she said”. LOL it never gets old.
I, too, got a chuckle outta that line…going to try these w/my daughter for their travel trailer…
What a great idea! It’s on my bucket list to remodel a travel trailer. Have fun!
Pingback: DIY Roman shade tutorial (no sewing required) | anything lovely
Looks great! To line I would hem two pieces of fabric, leaving good side out on both and continue as directed above. Use black out fabric ? if making for an East facing bedroom.
This is so great! So glad I found this post but is there fabric on both sides?
No, but it would be easy to add!
Can you make a video of how exactly you combined the blinds with the fabric please
I would also love a visual – video. On how exactly you do this. You did well explaining it. But it would even be better to see. 😊
I heard the faux wooden blinds are better to use. What is your opinion?
Thanks, Kristy
I think this is great idea, but I have a question. If the slots are glued to the fabric, how do you wash them?
The is the best DIY window idea I’ve ever seen, especially for those of us who moved into a home that was already outfitted with plastic white slatted blinds —- in *every* room! Like the commenters above, I’m not 100% sure I understand how to affix the fabric to the slats. In the photo, you show the slat with glue on it — did you then simply flip the slat so the glue came into contact with the fabric? Let it dry, and voila? Sorry if that’s a dumb question — just want to be sure I’m interpreting correctly before I go upstairs and start cutting my first blind! 🙂 Thx again for sharing this tutorial!!
Oh no not the slatted white blinds! :O Haha the worst! And no dumb questions here. 🙂 You are exactly right you just flip them over after putting glue on there so the curve or hump is is contact with the fabric. Let me know if you have any other questions! Good luck!
Don’t like the way they look from the outside…..If I put the same fabric or liner on the back side how do I keep it from gapping when the shade is pulled up. Do I have to glue that to the slats also?
Pingback: How to make inexpensive NO-SEW roman shades I Heart Nap Time | I Heart Nap Time - Easy recipes, DIY crafts, Homemaking
I just did this for my daughters room except I took a lined long curtain panel that is meant for darkening a room (found it at Goodwill brand new for $2) that matched her room) Buying clearance panels may be cheaper than buying one layer of fabric from the craft store. Love the tutorial, I did hesitate multiple times before cutting the ladders because I was terrified that I would ruin the blinds! LOL Then I reminded myself that they were only $4 blinds so it would be okay!
Oh and I also used Velcro tabs rather than fabric glue so that the shade could be washed. I hope it holds up. I did four tabs along each row and so far so good!
Love the idea of washing the blind. Did you use the sticky back Velcro? If so, did it adhere well to the fabric and stay on after washing?
Wish me luck – I’m about to try this myself…. I’m so nervous to try this, but I’m going to give it a shot. Hopefully I don’t mess up and the babies are without a blind 🙂
Hopefully all went well! A lot of work? Yes. But so worth it!! 😉
Where is the pull string??? Do you leave it behind?? I would love to try these thank you for sharing
Thank you for sharing! I just made one and am about to hang it in my bathroom. I used an old fabric shower curtain that I like, but no longer use. I also used hot glue and it worked great. I guess I won’t be washing mine any time soon 😉
Finished my blind and happy about the way it looks but how do you hang it without the little plastic ends that were used for the mini blind?
HI! Love the look of your finished project. I’m also in the process of making Roman shades. My thought is to simply use spray adhesive to attach my fabric to a white or light shade ready-made Roman shade that already has a lining. If I’m fortunate (and I usually am), I will find a pair at GoodWill or another resale store. If not, I found what I need at Home Depot to complete my project.
You did a great job explaining how to make the shade! I can’t wait!